Why You Need Klaviyo Shopify Integration?
- Automate email and SMS campaigns: Save time while reaching your customers where they’re most active. Whether it’s a welcome email, a cart reminder, or a promotional SMS, automation lets you set it and forget it.
- Segment your audience for personalization: Klaviyo’s powerful segmentation tools let you group customers by behavior, purchase history, location, or even how often they engage with your brand. This means your messaging becomes more relevant and personal, boosting engagement and conversions.
- Sync Shopify data for better targeting: From purchase data to browsing habits, Klaviyo syncs seamlessly with Shopify, ensuring your campaigns are tailored to real-time customer behavior. This integration allows you to send offers they actually want—no guesswork required.
- Track customer behavior to optimize strategies: With Klaviyo’s tracking features, you’ll see exactly how customers interact with your Shopify store. Whether they’re browsing products, adding items to their cart, or checking out, you’ll have the insights you need to fine-tune your marketing efforts.
How to Integrate Klaviyo with Shopify
Integrating Klaviyo with Shopify is a straightforward process. Follow these steps to connect your accounts and enable powerful email and SMS marketing features:
Step 1: Access the Integrations Menu
In your Klaviyo account, navigate to the lower left corner of the dashboard and select your account name. From there, click Integrations, then choose Add Integrations.
Step 2: Install the Shopify Integration
Search for Shopify in the integrations menu, click on the Shopify card, and then select Install. Enter your Shopify store URL in the provided box, ensuring it’s in the correct format: mystore.myshopify.com.
Step 3: Connect to Shopify
Click Connect to Shopify, which will redirect you to your Shopify account. If you’re not logged in, you may be prompted to do so. Once inside Shopify, review the permissions and click Install App to finalize the connection.
Step 4: Confirm the Integration
After the app installation, you’ll be redirected back to Klaviyo. Confirm the integration by clicking Integrate, which will bring you to the integration settings page.
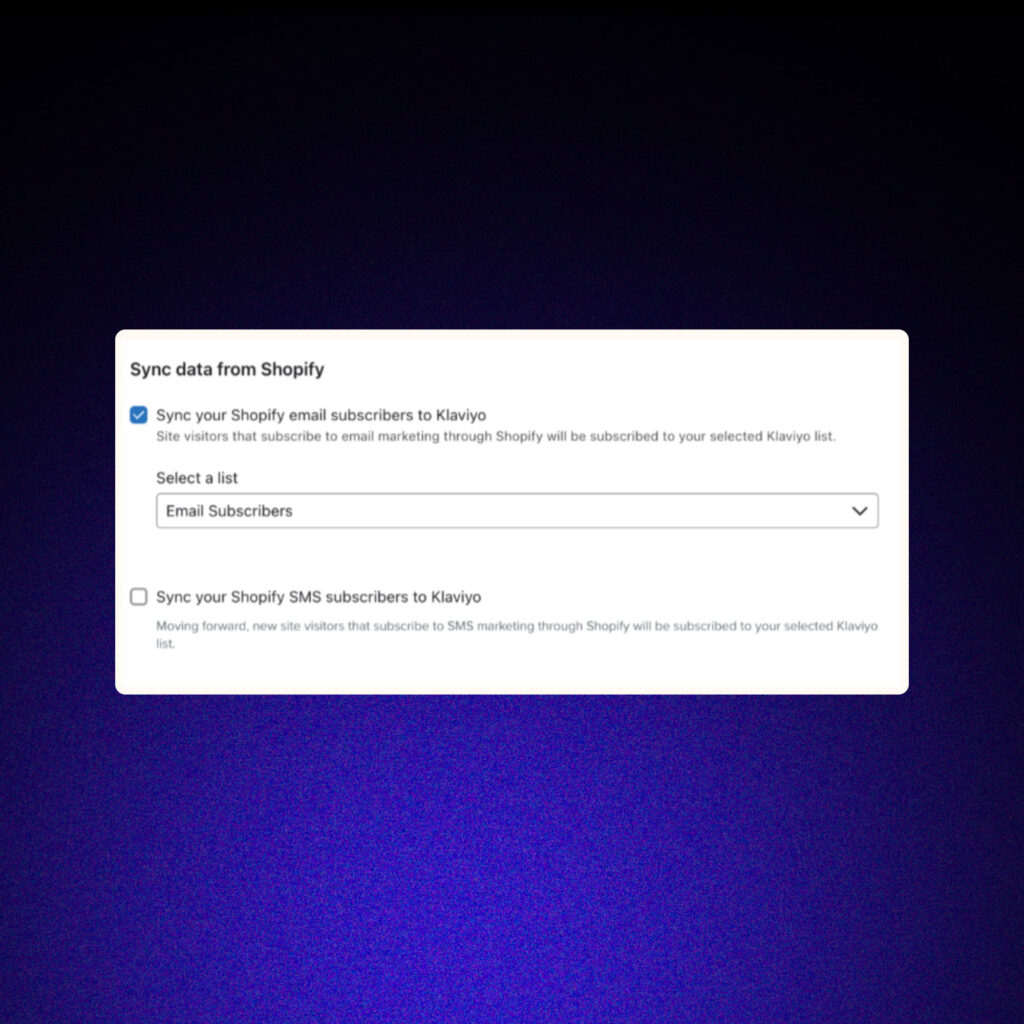
Step 5: Configure Subscriber Sync Settings
- Sync Email Subscribers: Check the box labeled Sync your Shopify email subscribers to Klaviyo. This will automatically add customers who opt into email marketing during checkout, or through any Shopify sign-up form. Select the appropriate list, such as your Email List, from the dropdown.
- Tip: Customize the “Accepts marketing” checkbox label in Shopify’s checkout settings as a best practice for collecting consent.
- Sync SMS Subscribers: Check the box labeled Sync your Shopify SMS subscribers to Klaviyo to add customers who opt into SMS marketing at checkout. Choose a list for SMS subscribers from the dropdown. Klaviyo will only sync consent for customers subscribing to SMS for the first time. To include historical subscribers, follow Klaviyo’s guide for adding historical Shopify subscribers.
- Recommendation: Use separate lists for email and SMS subscribers to maintain better organization.
Step 6: Sync Profile Data
- Select whether to sync all Klaviyo profiles or only profiles that already exist in Shopify.
- If syncing all profiles, note that Klaviyo will create new customers in Shopify for profiles imported or created in Klaviyo, even if they haven’t interacted with your store.
- Choose which data to sync, including the following:
- Name
- Email address
- Phone number
- Email subscription status
- SMS subscription status (if enabled)
- Email events
- SMS events
- Custom profile properties
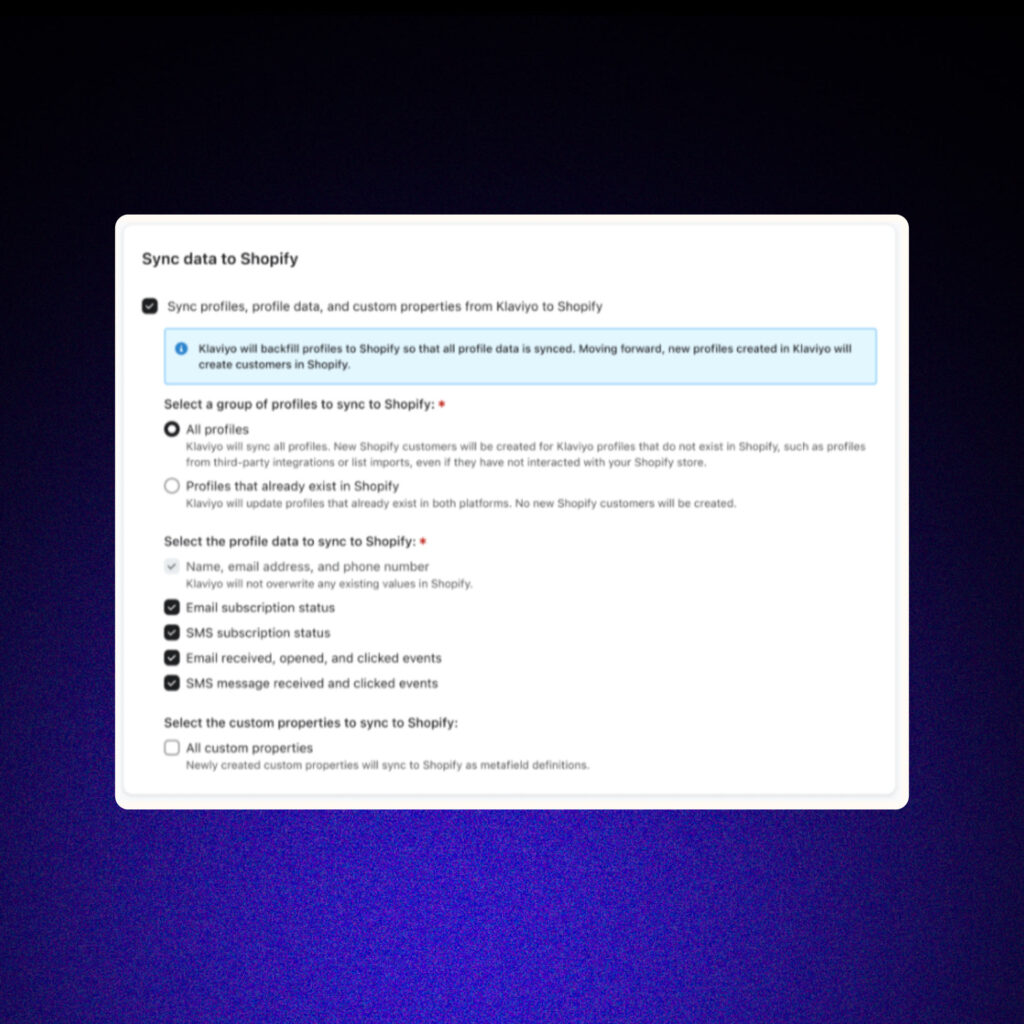
Click Complete setup when finished. A green success message will confirm that your data is syncing.
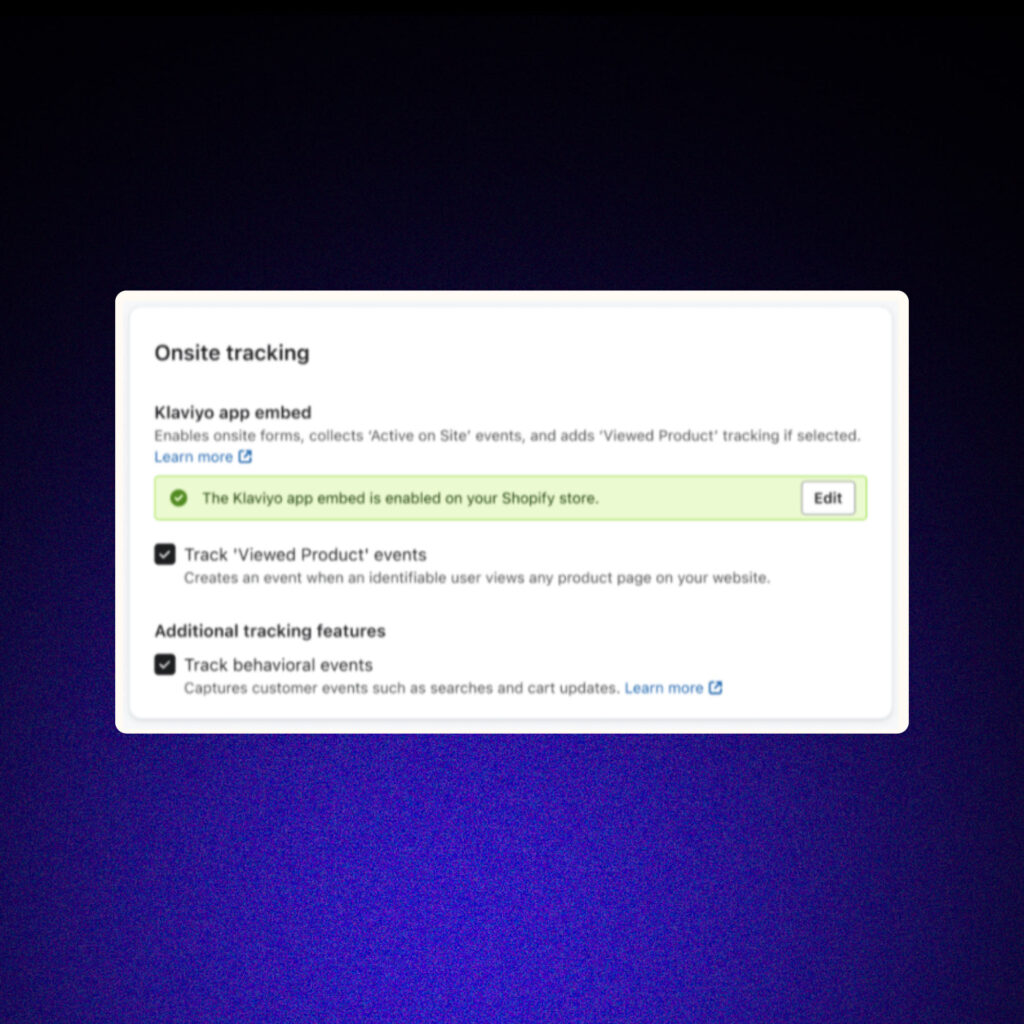
Step 7: Enable Onsite Tracking
1. In the Onsite tracking section, check the box labeled Track Behavioral Events. This enables tracking for events like Viewed Collection, Submitted Search, and Added to Cart. Events like Viewed Product and Active on Site are enabled by default.
2. If prompted, click Turn On to activate the Klaviyo app embedded in Shopify.
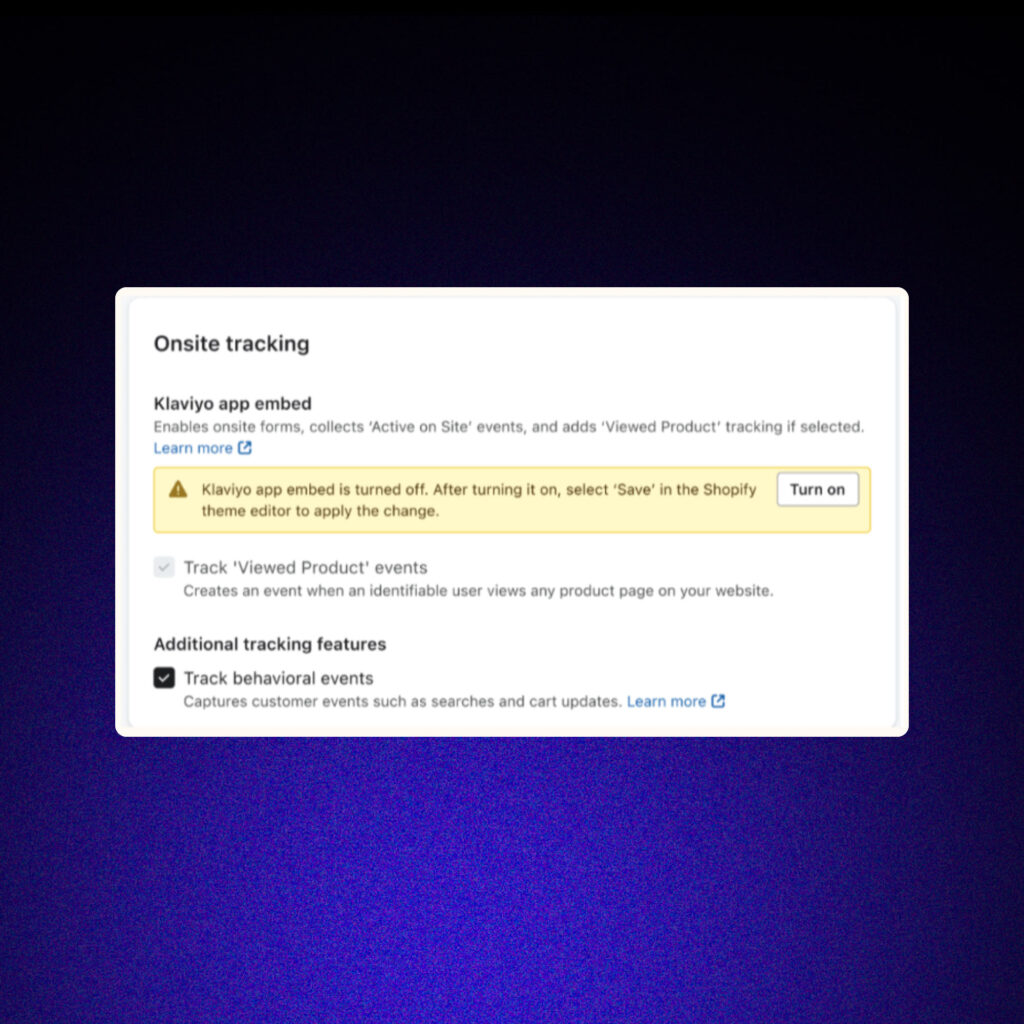
3. Sign in to Shopify (if required), navigate to your theme editor’s App embeds tab, and toggle the Klaviyo app embed to On.
4. Click Save in the Shopify theme editor.
Important Notes
- Enabling onsite tracking allows you to use Klaviyo’s sign-up forms and engage visitors based on their browsing behavior. However, tracking may be limited for visitors in the EU, EEA, UK, and Switzerland due to Shopify’s Customer Privacy settings.
- Avoid updating custom profile properties in Klaviyo that were synced from Shopify (e.g., Shopify tags), as these will be overwritten during the next integration sync.

